When a solar system suddenly stops producing power, the silence can feel more alarming than the fault itself. The inverter screen may show “standby,” “grid fault,” or nothing at all. Yet the problem may involve shading, a tripped breaker, damaged wiring, communication loss, or an inverter shutdown. Knowing How to troubleshoot a solar energy system that stops producing power requires careful observation, not guesswork.
The International Energy Agency Photovoltaic Power Systems Programme reported more than 1.6 terawatts of global photovoltaic capacity by the end of 2023. That scale makes reliable operation increasingly important for homes, businesses, and utilities. The same equipment still faces ordinary problems, including dust, heat, storms, and aging components. A National Renewable Energy Laboratory study found typical module degradation near 0.5% annually, although actual results vary by technology and climate. Small losses are normal. A sudden zero reading is not.
Begin with the evidence. Check the inverter display, monitoring app, weather conditions, and utility supply. Look for a tripped switch or visible damage, but never open energized equipment. A dark screen does not always prove a failed inverter. It may indicate lost grid power or an upstream disconnect. Record error codes and timestamps. A qualified solar technician should test voltage, current, insulation, and protective devices. One missed detail can mislead the entire diagnosis. Manufacturer manuals and local electrical requirements must guide every repair, because safe troubleshooting matters more than restoring production quickly.
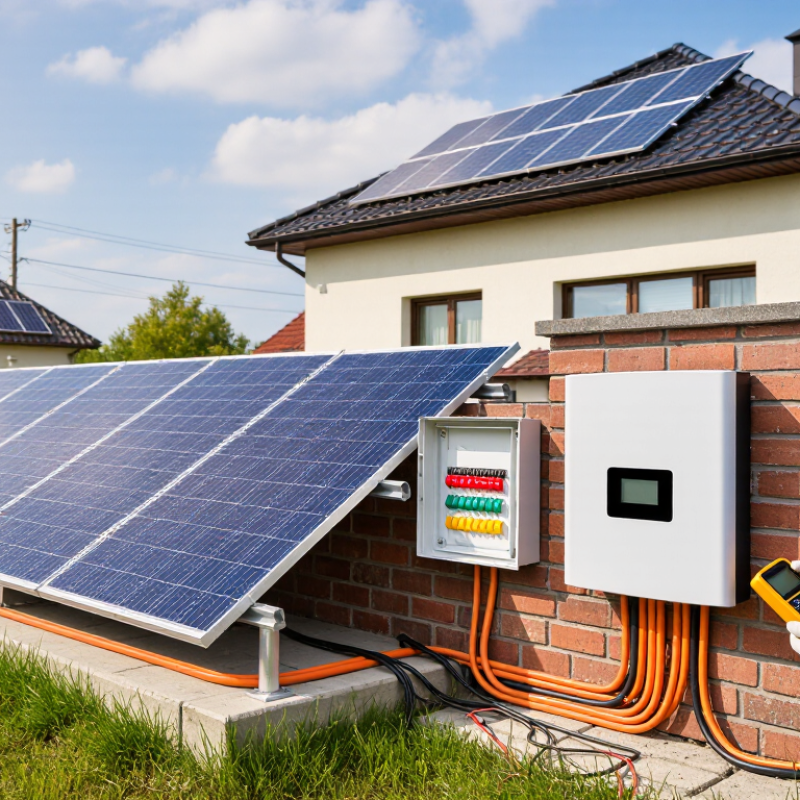
Identify the Solar System’s Power Output and Symptoms
A solar system’s power output should be read from more than one screen. Check the inverter display, monitoring portal, and utility meter. Compare their readings during clear midday conditions. A healthy system may still produce less than its rated capacity because ratings use laboratory conditions.
Look for clear symptoms. Zero output may indicate a tripped protective device, communication failure, or grid interruption. Low midday output can suggest shading, soiling, high module temperature, or a wiring fault. Rapid changes often point toward cloud movement or unstable connections. IEA PVPS Task 13 commonly places photovoltaic performance ratios near 75–85%, depending on climate and system design. NREL’s degradation research reports a median annual decline of about 0.5%. These figures guide diagnosis, but they do not replace site measurements.
Tips: Record output, weather, and time for seven days. Clean only accessible surfaces, and never open energized equipment. Compare daily kilowatt-hours with the system’s original estimate. A single cloudy day proves little. My own troubleshooting experience suggests that monitoring data can look convincing while measuring the wrong interval. Confirm the meter’s date, time zone, and export setting. If output remains unusually low, ask a qualified technician to test voltage, current, insulation, and protective devices safely. Industry reports provide useful averages, yet roof orientation, shadows, dust, and heat can make your system’s pattern different.
Check Safety Conditions, Weather, and External Grid Factors
How to Troubleshoot a Solar System Not Producing Power
Before checking equipment, assess the safety conditions. Look for smoke, burning smells, cracked panels, loose cables, or water near electrical components. Do not touch exposed wiring or open an inverter during wet weather. Switch off the system only if the procedure is clearly labeled and safe. Otherwise, contact a qualified solar technician. Personal safety matters more than restoring production quickly.
Weather can reduce output without indicating a fault. Heavy clouds, rain, snow, dust, and nearby tree shadows may lower generation sharply. Check whether snow covers the panel surface, but never climb onto a roof to remove it. Review the system display during bright sunlight, then compare its reading with a previous clear day. A clean panel does not prove full performance. I have missed temporary morning shade before, especially during winter.
External grid conditions can also stop production. During a power outage, many grid-connected systems shut down automatically to protect utility workers. Check whether nearby homes have electricity and inspect the main breaker without forcing it. Utility voltage problems, planned maintenance, or a failed meter connection may also interrupt export. Record the time, weather, display message, and recent changes. These details help a technician test the system accurately, though remote readings can sometimes be incomplete.
Test the Inverter, Batteries, Fuses, and Electrical Connections
When a solar system stops producing power, begin with the inverter display. Check for fault codes, unusual sounds, or a blank screen. Confirm that the system disconnects are switched on. A dark display may indicate no battery power, a tripped breaker, or a failed internal component. Do not open the inverter enclosure unless you are qualified to do so.
Inspect the battery bank for low voltage, swelling, corrosion, or loose terminals. Use a suitable multimeter and follow the manufacturer’s safety instructions. Never place a metal tool across battery terminals. Check each fuse and breaker for damage, but isolate the system before removing a fuse. A fuse that looks normal can still be open, so test continuity with power disconnected. Battery voltage alone does not prove the battery can supply current.
Examine electrical connections from the panels to the inverter. Look for cracked insulation, moisture, heat marks, and connectors that pull apart easily. Tighten only connections designed for field servicing. Loose terminals often create resistance and heat. I once found a clean-looking cable with a burned conductor hidden beneath its insulation. That mistake changed how I inspect wiring. Measure input voltage only with properly rated equipment and safe procedures. If readings conflict, stop guessing and call a licensed solar electrician. Some faults are intermittent, and repeated resets can hide the real problem.
How to Troubleshoot a Solar System Not Producing Power
Example diagnostic profile for a 48 V battery system with a 230 V AC inverter. The score represents how closely each test matched normal operating criteria: battery voltage of about 51.2 V, PV input near 320 V DC under sunlight, inverter output near 230 V AC, continuous fuses, and low-resistance electrical connections.
In this example, the battery and fuse tests pass, while the PV input and inverter output are absent. Inspect PV isolators, disconnects, shading, fuse holders, and cable connections before testing again. A low connection score indicates excessive voltage drop or loose/corroded terminals. De-energize circuits before continuity or resistance testing and follow local electrical safety requirements.
Interpret System Errors and Decide When to Call a Professional
When a solar system stops producing power, begin with the error message, not the panels. Check the inverter display and record the exact code, time, and weather conditions. A “grid fault” may indicate a utility outage or abnormal voltage. A “communication error” may only affect monitoring, while power production continues. A “low insulation” or “ground fault” warning deserves more caution. Moisture, damaged wiring, or a failed component may be involved.
Look at simple conditions without opening any equipment. Confirm that sunlight reaches the panels. Heavy shade, snow, leaves, or construction dust can reduce output sharply. Check whether the system’s visible switches or breakers appear in their normal positions. Do not repeatedly reset a fault. If the message returns, note what changed after the reset. That small detail can help a technician work faster. My first assumption would be that low output means a panel problem, but the inverter, meter, or grid connection may be responsible instead.
Call a qualified solar professional when an error persists, the display is blank, or production remains near zero during strong sunlight. Stop immediately if you notice a burning odor, cracked equipment, sparking, unusual heat, or exposed cables. Never remove covers or climb onto the roof to investigate. These systems can remain electrically dangerous in daylight. A monitoring app can also be wrong, so compare its reading with the inverter and utility meter when safe. Record photos from the ground, error codes, and recent weather. That evidence is useful, though it may not reveal the real cause.
Conclusion
How to troubleshoot a solar energy system that stops producing power begins with confirming the actual power output and identifying symptoms such as a blank inverter screen, reduced generation, or no battery charging. Check whether weather conditions, shade, grid outages, or utility restrictions are affecting performance. Before inspecting anything, follow basic safety precautions and avoid touching exposed electrical parts.
Next, examine the panels, mounting hardware, cables, and connectors for dirt, cracks, loose fittings, or visible damage. If it is safe to do so, review the inverter display, battery status, fuses, breakers, and electrical connections for abnormal readings or warning messages. Record any error codes and compare them with the system’s operating guidance. Simple issues may involve weather, a tripped breaker, or a loose connection, but persistent faults, unusual sounds, overheating, damaged wiring, or repeated shutdowns should be handled by a qualified solar professional.
 Soweglow Solar
